
Alert Groups

Groups
Section titled “Groups”On this screen you manage the user groups that will receive notifications and the type of service, whether by e-mail or SMS.
| Opção | Descrição |
|---|---|
 | New Group: Creates a new group for sending alerts. |
 | Search Group: Displays only the groups that match the entered search on the screen. |
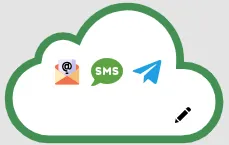 | Cloud Group: This group sends alerts in case of loss of communication between Monsta and the cloud at https://mind.monsta.com.br. This feature is very useful in cases such as an internet link outage at the company or unexpected server shutdown without the user’s knowledge. This group cannot be removed from the system and is not available for devices or monitors. The color of its border indicates the connection status with the cloud: - Green: Communication established; - Red: Communication failure. The time to send an alert is 20 minutes. |
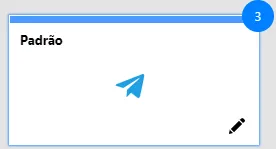 | Default Group: This group is mandatory in the system and cannot be deleted, only modified. The number shown in the upper right corner of the group box refers to the number of devices that use it in their alerts. When the group box is displayed in gray, this indicates that it has no alerts enabled. |
 | Active Alerts: The icons shown inside the group box indicate which alerts are currently active for it. |
 | Delete Group: Deletes the selected group. |
 | Edit Group: In this option the user can add and remove devices and monitors that are part of this group, as well as define the types of alerts that will be sent, their recipients and the allowed sending times for the messages. |
Editing alert groups
Section titled “Editing alert groups”Details
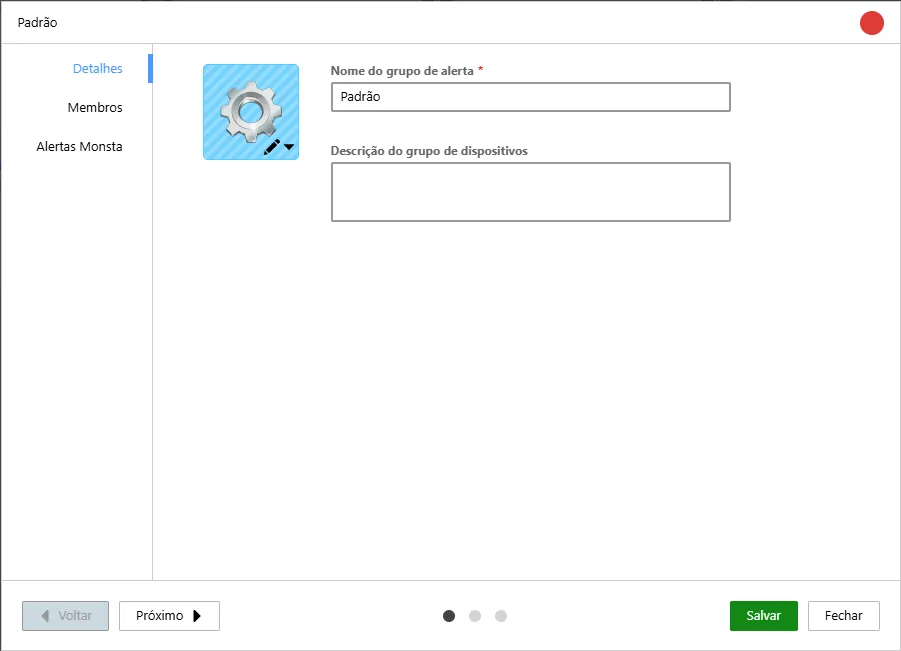
Section titled “Details”In this tab the icon, name and comment about the group are defined.
| Opção | Descrição |
|---|---|
 | It is possible to assign an image to the alert group that will be displayed on the screen. |
| Alert group name | It is the name that will be shown on the groups screen, as well as what will be displayed when editing the alert groups option within devices or monitors. |
| Description | Allows adding a comment about the highlighted group. |
Members
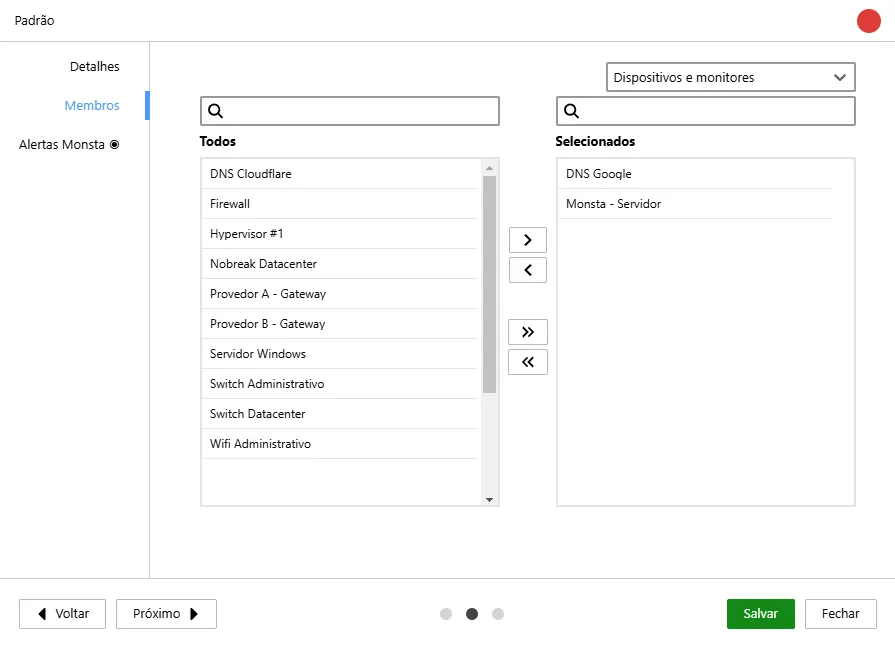
Section titled “Members”In this tab you can view the devices and monitors that will receive alerts from this group, as well as add new devices or remove existing ones.
| Opção | Descrição |
|---|---|
| All | This component shows all devices existing in Monsta. Click on a device to select it and use the buttons on the side to add it to the group. |
| Selected | This component shows the devices and monitors that are part of the highlighted group. Click on an item to select it and use the buttons on the side to remove it from the group. |
Monsta Alerts
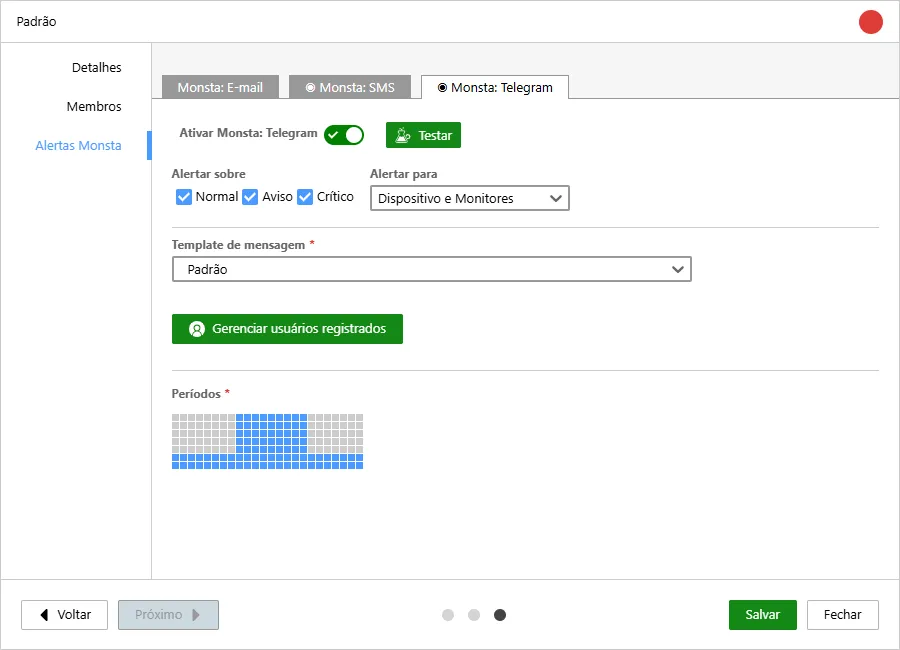
Section titled “Monsta Alerts”This tab shows Monsta’s standard alerts that use our cloud to be sent to recipients. The available sending options are E-mail, SMS and Telegram. Monsta Alerts do not require special configurations as they are automatically integrated with the cloud during software installation.

| Opção | Descrição |
|---|---|
 | Enables or disables the alert type in question. |
 | Sends a test to the existing recipients. This option is useful to verify if all destinations are configured correctly, such as email address or SMS or Telegram users. |
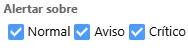 | These options allow selecting the type of event for which the alert should be sent. When unchecked, Monsta will not send alerts for the selected status. |
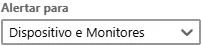 | Here you can choose the object that will be used for sending alerts. You can use this option to receive alerts only when the device becomes unreachable, but opt not to receive an alert if the CPU monitor triggers due to high usage. |
| Message template | Templates are message models that will be sent to users. You can customize how messages will be sent to your recipients. For more information, see “Templates de mensagens”. |
 | This option is available only for Telegram. It shows the users who are part of the group and allows removing them manually. To add a user, you must use the code that appears at the beginning of this screen and send it to the bot “MonstaTecnologiaBot”. The instructions on how to proceed are specified on this same screen. |
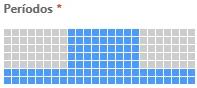 | Periods are the time intervals during which alerts can be sent. When creating a group the default is 24x7. The gray squares indicate that the selected times are inactive and Monsta will not send alerts for the group during those time intervals. |
Alert Center
Section titled “Alert Center”On this screen you manage the user groups that will receive notifications and the type of service, whether by e-mail or SMS.
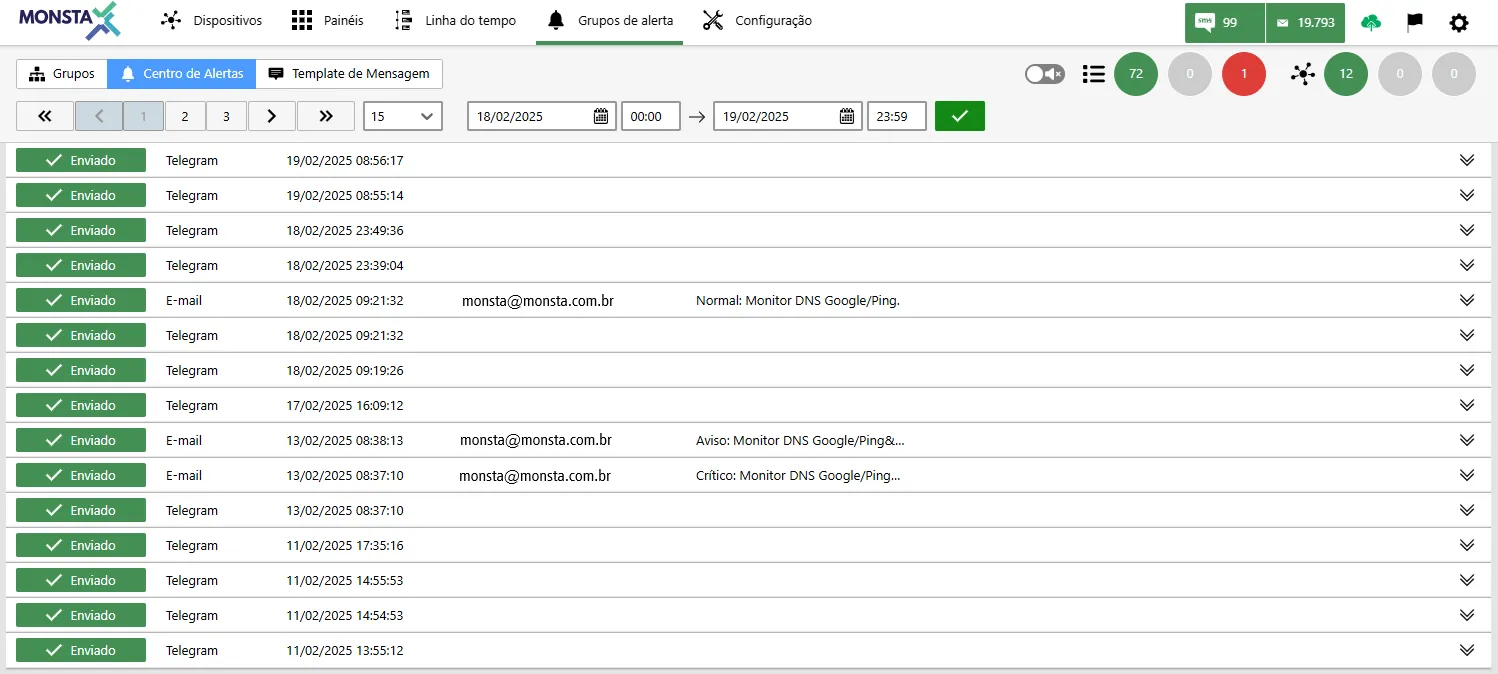

Display bar: Allows the user to set the number of items per page and the period for which the information should be displayed on the screen.
| Informação | Descrição |
|---|---|
 | Status: Informs the state of the message sent to a user. |
 | Type: Indicates which medium the message was sent to. |
 | Date and time: Shows the date and time of the sending. |
 | Recipient: Shows the recipient of the message. This information is not available for Telegram alerts because messages are sent to a Bot. |
 | Source: Shows the device and monitor that originated the alert. |
 | Content: Displays the content sent by the alert. |
Message templates
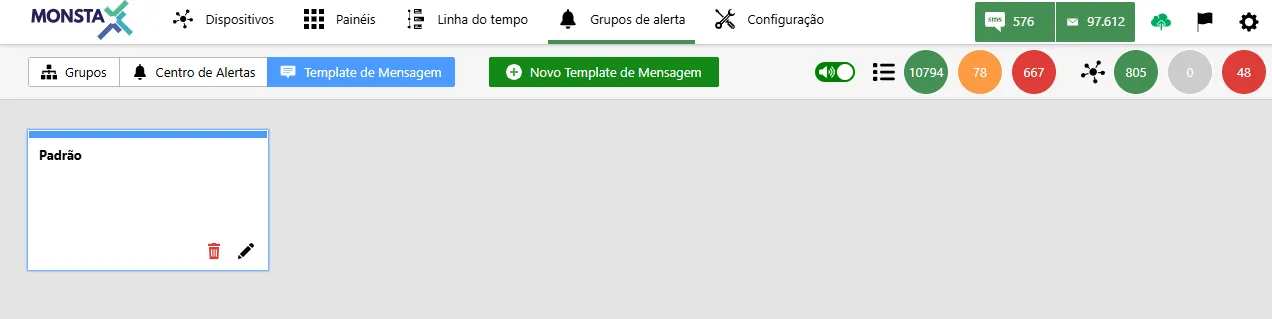
Section titled “Message templates”With our templates, you can create personalized messages for each type of alert, ensuring that the most important information is delivered to the responsible parties quickly and efficiently. Choose from a variety of variables to include details such as the device name, alert severity and time of occurrence, among many others.

| Ícone | Descrição |
|---|---|
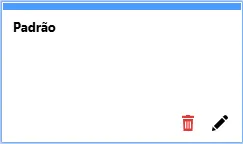
 | Removes the existing template. AttentionThe template cannot be removed if it is in use by any alert group. The Default template is part of the system and also cannot be removed. |
 | Opens the template editing for the user. |
Editing a message template
Section titled “Editing a message template”On this screen the user can customize the message sent by alert groups. The existing variables that can be used are listed and a simple programming language for working with conditions.
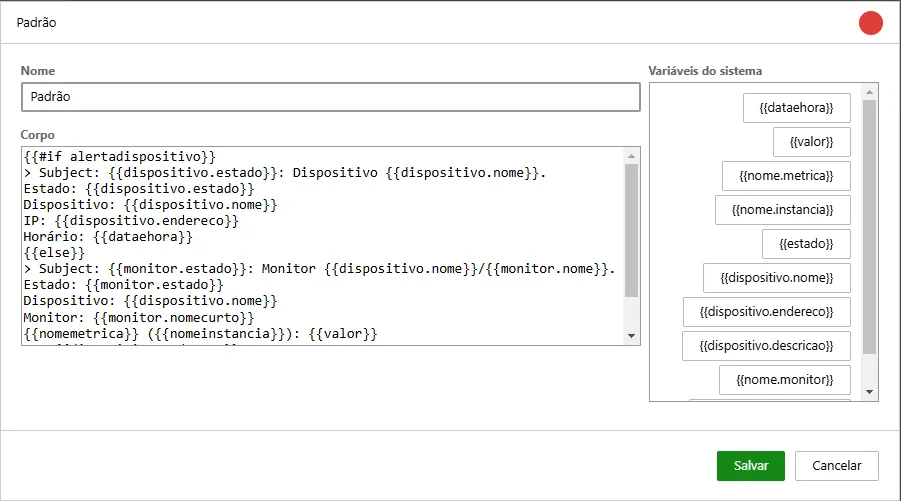
| Opção | Descrição |
|---|---|
| Name | It is the name that will be displayed on the templates screen, as well as what will be shown for selection when editing the alert groups option. |
| Body | This is the alert message text that will be sent to the user. When using variables or programming commands, these must be, necessarily, inside ”{{ }}”. |
| System variables | These are the system variables with system information that are available to be used in alert templates. To speed up customizing the body text with variables, just perform a “double-click” on the desired variable and it will be inserted into the text. |
System variables
Section titled “System variables”| Variável | Descrição |
|---|---|
dataehora | Returns the current date (d/m/y) and time (h:m). |
dispositivo.descricao | Returns the device description. |
dispositivo.endereco | Returns the device IP address. |
dispositivo.estado | Returns the device’s current state obtained by the Uptime monitor. |
dispositivo.estadoanterior | Returns the device’s previous state obtained by the Uptime monitor. |
dispositivo.nome | Returns the device name. |
estado | Returns the device status. |
monitor.estado | Returns the monitor’s current state. |
monitor.estadoanterior | Returns the monitor’s previous state. |
monitor.nome | Returns the monitor name. |
monitor.nomecurto | Returns the name provided in the monitor icon. |
nome.metrica | Returns the metric name. |
nome.instancia | Returns the instance name. |
valor | Returns the reading value. |